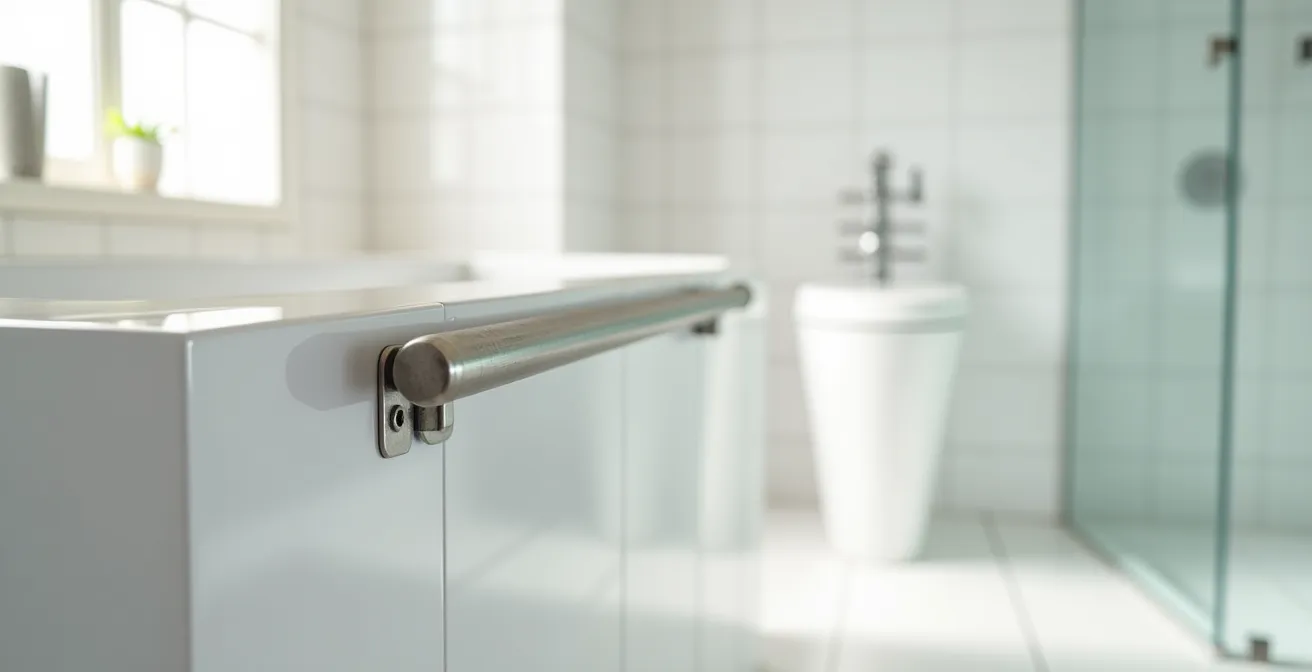
Proper grab bar installation is an engineering task, not a decoration project; the safety of a loved one depends on understanding system integrity, not just following a diagram.
- Secure mounting into studs or with high-capacity toggle bolts is non-negotiable; suction cups fail under the dynamic load of a fall.
- Material choice (Type 304/316 stainless steel) and surface texture (peened finish) are critical for long-term grip and corrosion resistance in humid environments.
Recommendation: Analyze the user’s specific path of movement to determine custom placement that supports them at key transfer points—tub exit, toilet, and shower controls.
Installing a grab bar seems straightforward: find a stud, drill some holes, and attach the bar. This approach, while well-intentioned, often overlooks the critical engineering principles that separate a decorative handle from a life-saving safety device. Many online guides offer generic advice based on ADA (Americans with Disabilities Act) diagrams, which are excellent starting points but are designed for public spaces, not the unique layout of a private home or the specific needs of its user. They talk about placement but rarely delve into the science of grip, the metallurgy of materials, or the physics of a potential fall.
The real key to effective bathroom safety lies in moving beyond these basic rules. A truly secure installation is an integrated system where the bar’s surface, its material composition, the fasteners, and the wall structure all work in concert to withstand sudden, significant force. The conversation must shift from “Where does the diagram say it goes?” to “Where will this user need support during their specific path of movement, and how do we guarantee the installation’s integrity at that exact point?” This requires thinking like a contractor, considering everything from the micro-texture of the bar’s finish to the precise torque on the mounting screws.
This guide deconstructs the process from an engineering perspective. We will analyze the material science behind different finishes and steel grades, provide a technical walkthrough for drilling into unforgiving materials like porcelain tile, and explain the mechanical reasons why certain products fail catastrophically. By understanding the ‘why’ behind each decision, you can engineer a customized, reliable safety system that provides true peace of mind, not just a false sense of security.
For those who prefer a visual summary, the following video provides an excellent overview of the key decision-making factors for placing grab bars in showers and around the toilet, complementing the detailed technical points in this guide.
To navigate this in-depth guide, the summary below outlines the critical engineering and safety considerations we will cover. Each section is designed to build your expertise, moving from the point of hand contact to the final integration with other safety equipment.
Summary: A Contractor’s Guide to Grab Bar Installation
- Textured vs smooth finish: which stainless bar offers better grip with soapy hands?
- How to drill into ceramic tile for grab bars without cracking it?
- Why suction cup grab bars fail when you need them most?
- Why stainless steel outperforms chrome-plated bars in high-humidity zones?
- When to install grab bars: waiting for a fall vs proactive safety?
- High-contrast markers: using tape to define step edges cheaply
- Setting the water heater: the exact temperature to prevent burns in thin skin
- Bath Transfer Bench vs Shower Chair: Which Offers Better Stability for Heavy Users?
Textured vs smooth finish: which stainless bar offers better grip with soapy hands?
The first point of interaction with a grab bar is the user’s hand, making the surface finish a critical safety component, especially in wet and soapy conditions. While a smooth, polished bar might match bathroom fixtures, it offers the least grip. The choice comes down to two primary textured finishes: knurled and peened. A knurled finish features a diamond-shaped pattern of deep grooves, providing the maximum possible grip. This aggressive texture is ideal for situations demanding absolute slip resistance, but it can be abrasive and uncomfortable for users with thin, fragile skin or arthritis.
The superior option for most residential applications is a peened finish. This texture is created by sandblasting the steel with metallic balls, creating thousands of tiny, uniform indentations. The result is a non-abrasive, satin-like surface that significantly increases the coefficient of friction without being harsh to the touch. It provides an excellent balance of secure grip and comfort, maintaining its effectiveness even when wet. Furthermore, the shallower indentations of a peened finish are easier to clean and less likely to harbor bacteria than the deep grooves of a knurled pattern, making it a more hygienic choice for a home bathroom.
When selecting a finish, consider the user’s specific needs. For individuals with compromised immune systems or severe skin sensitivity, even a peened finish might be too much; in these rare cases, a brushed (not polished) smooth finish on a larger diameter bar (which is easier to grip) may be the best compromise. For most seniors, however, the peened surface provides the optimal blend of safety, comfort, and maintainability.
How to drill into ceramic tile for grab bars without cracking it?
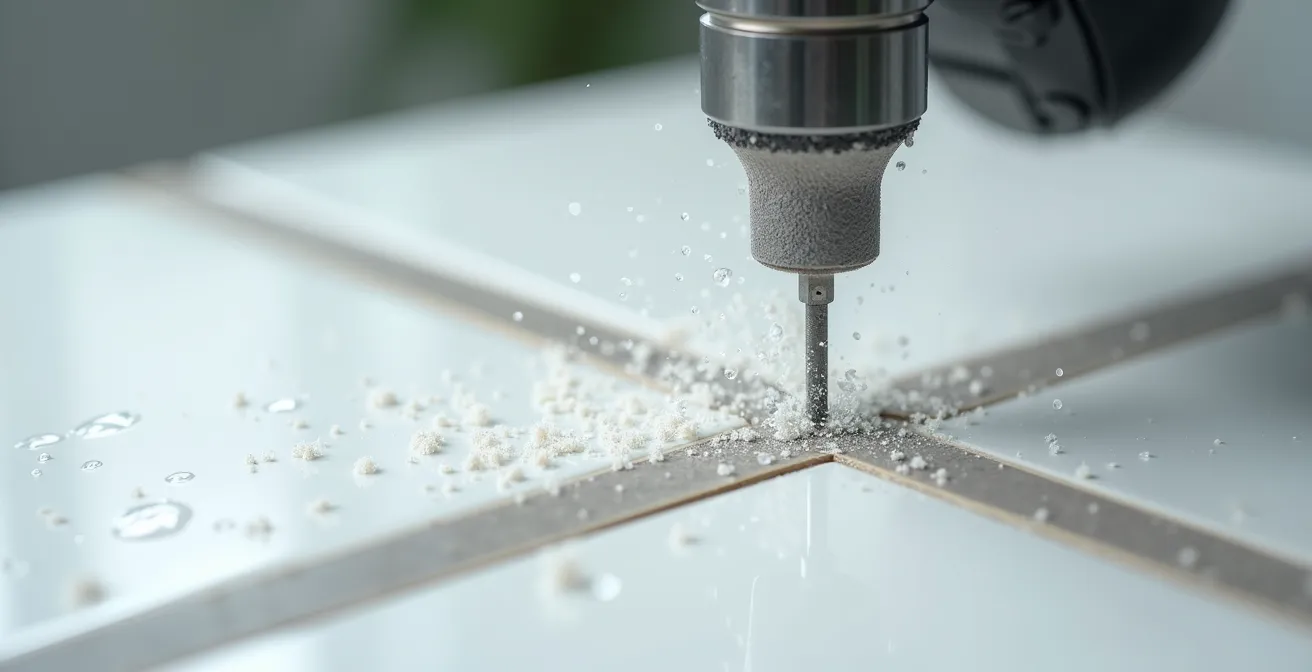
The structural integrity of a grab bar installation is only as strong as its attachment to the wall. Drilling into hard, brittle materials like ceramic or porcelain tile is the most intimidating step for any DIY installer, as a single mistake can lead to a cracked tile and costly repairs. The key to success is using the right tools and a precise, patient technique. For standard ceramic tile, a carbide-tipped masonry bit is sufficient. For harder porcelain tile, a diamond-tipped hole saw is non-negotiable; attempting to use a lesser bit will burn it out and potentially crack the tile from heat stress.
Before drilling, apply masking tape in an ‘X’ pattern over the marked hole location. This serves two purposes: it prevents the drill bit from “wandering” on the slick tile surface as you begin, and it reduces the chance of chipping the glaze. Always start with a small pilot hole (e.g., 1/8-inch) using very low speed (under 400 RPM) and light, steady pressure. The most critical element is heat management. Have a spray bottle of water handy and continuously mist the drill bit and tile as you work. This lubrication prevents the bit from overheating and transferring thermal shock to the tile, which is the primary cause of cracking.
Once the pilot hole is through the tile, you can switch to a larger bit to widen the hole to the required diameter for your mounting hardware. While mounting directly to a wall stud is the gold standard, it’s often not possible to align both ends of a grab bar with studs. In these cases, you must use a high-capacity hollow-wall anchor system. Do not use standard plastic anchors. Use heavy-duty toggle bolts specifically rated for grab bars, such as WingIts or Snaptoggles, which are engineered to distribute the load over a larger area of the wallboard and typically have a weight rating of over 250 lbs each.
Your Pre-Drilling Installation Audit
- Location & Studs: Use an electronic stud finder to map all stud locations and check for AC wiring or plumbing before marking your final drill points.
- Hardware Check: Confirm you have the correct drill bit (carbide for ceramic, diamond for porcelain) and appropriate anchors (heavy-duty toggle bolts if no stud is available).
- Safety Gear: Wear safety glasses to protect from tile chips and have your water spray bottle filled and ready for cooling.
- Drill Settings: Set your drill to its lowest speed setting and ensure the ‘hammer’ function is turned OFF to prevent fracturing the tile.
- Pressure Test: Practice applying light, consistent pressure. The goal is to let the drill bit’s abrasive action do the work, not to force it through the material.
Why suction cup grab bars fail when you need them most?
Suction cup grab bars are widely available and marketed as a simple, drill-free solution. However, from an engineering standpoint, they are dangerously misleading and should never be used for body weight support. Their failure lies in the fundamental difference between static and dynamic loads. A suction cup may hold a static load (a hanging towel or a light, steady pull) of around 50 lbs under ideal conditions. But a fall is not a static event. It generates a massive dynamic load, a sudden, jerking force that can be several times a person’s body weight.
In fact, fall prevention research demonstrates that dynamic forces during a slip or fall can easily reach 3-4 times a person’s body weight. A 150-pound person can exert 450-600 pounds of force on a grab bar in an instant. A suction cup is not designed to withstand this; its seal will break immediately, causing the bar to detach from the wall at the precise moment it is needed most. This creates a scenario that is even more dangerous than having no bar at all, as the user is relying on a support that is guaranteed to fail.
Furthermore, their reliability is compromised by numerous environmental factors in a bathroom. Grout lines, microscopic pores in the tile, temperature fluctuations causing air to expand and contract, and the gradual degradation of the rubber seal all work to weaken the suction over time. Many of these bars include a color indicator (e.g., green for secure, red for failed seal), but this only confirms a failure *after* it has occurred. Using them as temporary placement guides before permanent installation is their only safe application.
The following table starkly illustrates the difference in safety and reliability between a properly installed bar and a temporary suction device.
| Feature | Permanent Screw-Mount | Suction Cup |
|---|---|---|
| Weight Capacity | 250-500 lbs | 50 lbs (static only) |
| Dynamic Load Resistance | Excellent | Poor – fails under sudden force |
| Long-term Reliability | 20+ years | Degrades within months |
| Installation Requirements | Drilling into studs/anchors | Clean smooth surface only |
| Safety Rating | ADA Compliant | Not recommended for safety |
Why stainless steel outperforms chrome-plated bars in high-humidity zones?
The choice of material is as crucial as the installation method for ensuring long-term safety. In the high-humidity, corrosive micro-climate of a bathroom, materials are constantly under attack. The two most common options are chrome-plated steel and solid stainless steel. While a shiny chrome bar might look appealing, it represents a significant long-term failure point. Chrome plating is an extremely thin surface layer applied over a base metal (often brass or regular steel). Once this layer is compromised by a scratch, cleaning chemical, or even just microscopic flexing, moisture can penetrate and attack the vulnerable metal underneath. This leads to bubbling, flaking, and eventually, rust, which compromises both the bar’s appearance and its structural integrity.
Solid stainless steel, by contrast, is an alloy whose corrosion-resistant properties are integral to its entire structure. The most common grade for bathroom accessories is Type 304 stainless steel, which contains approximately 18% chromium and 8% nickel. This composition provides excellent resistance to rust and corrosion in typical bathroom environments. Its corrosion resistance isn’t just a surface coating; if the bar is scratched, the newly exposed stainless steel is just as rust-resistant as the original surface. For extreme conditions, such as coastal areas with salt in the air or for grab bars near pools, Type 316 stainless steel is the superior choice. It includes molybdenum, which dramatically enhances its resistance to chlorides.
While stainless steel has a higher upfront cost, it is far more economical over the long term. Research shows the extended lifespan of stainless steel makes it a sound investment. For instance, an analysis found that stainless steel grab bars last 20+ years, reducing replacement costs by 66% compared to chrome-plated alternatives that often require replacement within 3-7 years due to flaking and rust. Investing in solid stainless steel is an investment in permanent, reliable safety.
When to install grab bars: waiting for a fall vs proactive safety?
The decision of *when* to install grab bars is often delayed until after a fall or near-miss has already occurred. This reactive approach is a dangerous gamble. The statistics are sobering: according to CDC prevention data, 1 in 4 Americans age 65+ falls each year, and the bathroom is one of the most common locations for these incidents. Waiting for a crisis means exposing a loved one to unnecessary risk. The far superior strategy is proactive installation, treating grab bars as a standard safety feature for anyone over 65, or for individuals of any age with mobility challenges, post-surgery recovery, or a new medical diagnosis affecting balance.
The financial argument for proactive installation is overwhelming. A professional installation might cost between $200 and $500. In stark contrast, the medical expenses for a single fall-related hip fracture can average over $30,000, not to mention the devastating impact on quality of life and independence. Moreover, installing the bars while the user is still fully mobile and healthy allows them to adapt to using the equipment naturally as part of their routine, rather than having to learn while frail or injured. Making grab bar installation a standard part of any bathroom renovation or during key life transitions is a small investment that pays enormous dividends in long-term safety and independence.

Thinking ahead transforms the conversation from one of fear and reaction to one of empowerment and planning. It allows families to make calm, rational decisions about placement and style, integrating safety seamlessly into the home. It is a declaration that independence will be preserved through smart design, not left to chance. This proactive mindset is the cornerstone of creating a truly safe and supportive home environment for aging in place.
High-contrast markers: using tape to define step edges cheaply
A grab bar is only effective if it can be quickly and easily located in a moment of need. For seniors, many of whom experience age-related vision changes like cataracts or macular degeneration, visual accessibility is a critical and often overlooked aspect of bathroom safety. In fact, vision research data shows that adults with vision impairment are 2.5 times more likely to fall than those with normal vision. A grab bar that blends in with the surrounding wall tile is a liability. The principle of high contrast is essential for making safety features visually ‘pop’.
A common and effective strategy is to choose a grab bar with a finish that contrasts sharply with the wall. For example, a dark, oil-rubbed bronze or black matte bar on a white or light-colored tile wall is instantly recognizable. Conversely, a brushed stainless steel bar stands out against dark tile. Finishes themselves also play a role; a matte or brushed finish is preferable to a highly polished one, as it reduces glare from bright bathroom lights, which can be disorienting.
For existing installations or for an added layer of visibility, several simple, low-cost modifications can be made. These techniques are particularly useful for defining not just the bar itself, but also other hazards like the edge of a step-in shower or tub.
- Wrap a 2-inch wide strip of brightly colored, waterproof vinyl tape (e.g., yellow, red, or blue) around the center of the grab bar to create a clear visual target.
- Select grab bars that are manufactured with integrated color-contrast grips or flanges.
- Ensure lighting is positioned to illuminate the grab bars directly without creating harsh shadows or glare that could obscure them.
- For ultimate nighttime safety, consider installing grab bars that feature integrated, low-wattage LED lighting, which provides a gentle guide in the dark.
Setting the water heater: the exact temperature to prevent burns in thin skin
An integrated bathroom safety system addresses all potential hazards, not just falls. Scalding from hot water is a serious and preventable risk, particularly for seniors whose skin is thinner and more susceptible to burns, and who may have a delayed reaction time. The first line of defense is not in the bathroom itself, but at the source: the water heater. Many heaters are set to a default of 140°F (60°C) to prevent bacterial growth, but at this temperature, a serious burn can occur in as little as five seconds. For households with seniors or young children, this is unacceptably high. The consensus among safety organizations is clear, as safety standards require that water temperatures at the tap should be below 120°F (49°C) to provide a safe margin.
At 120°F, it takes over five minutes of exposure to cause a third-degree burn, giving a user ample time to react and adjust the temperature. Setting your water heater to this level is the single most effective step in preventing scald injuries. However, grab bars also play a crucial role in a ‘Layered Water Safety System.’ Reaching for shower controls can be an unstable movement. A strategically placed grab bar provides the necessary stability to make deliberate, controlled adjustments to the water temperature.
Consider installing a 12 to 16-inch vertical grab bar directly adjacent to the shower valve controls. This allows the user to hold on securely with one hand while adjusting the temperature with the other. This simple addition prevents the jerky, off-balance movements that can accidentally turn a valve to full hot. It also provides an immediate anchor point to grab onto if a reflexive recoil from unexpectedly hot water occurs, preventing a devastating combination of a slip-and-fall and a severe burn. This is a prime example of how grab bars are not just for transfers, but for providing stability during all bathroom tasks.
Key Takeaways
- System Integrity is Paramount: The safety of a grab bar depends on the entire system—the bar’s material, its finish, the fasteners, and the wall structure—not just one component.
- Proactive Installation is an Investment: Installing bars before a fall occurs is a cost-effective strategy that saves money, prevents injury, and preserves independence.
- Details Determine Durability: Choosing solid stainless steel over chrome-plating and a peened finish over a smooth one ensures long-term grip, comfort, and resistance to corrosion.
Bath Transfer Bench vs Shower Chair: Which Offers Better Stability for Heavy Users?
For individuals who cannot stand for the duration of a shower, a bath transfer bench or a shower chair is essential. However, these devices are not standalone solutions; they must be integrated with a properly configured system of grab bars to be truly safe, especially for bariatric users or those with significant mobility limitations. The choice between a transfer bench and a shower chair depends on the bathroom layout and the user’s specific transfer needs. A shower chair is a four-legged stool placed entirely inside a walk-in shower. A bath transfer bench is a longer bench where two legs sit inside the tub and two sit outside, allowing the user to sit down on the outside, then slide over the tub wall without having to step over it.
For heavier users, the bath transfer bench generally offers a more stable, secure transfer process, as it eliminates the high-risk action of stepping over a tub wall. However, its effectiveness is entirely dependent on the correct grab bar placement to support the “sit, slide, and lift” motion. The goal is to create a ‘chain of support’ where the user is never without a secure handhold.
The required grab bar configuration changes depending on the seating equipment used. A single grab bar is not sufficient; a system of bars is needed to support the different phases of movement. The table below outlines the ideal grab bar placement to complement each seating type, ensuring a complete and secure safety system.
| Seating Type | Required Grab Bar Placement | Weight Capacity | Best For |
|---|---|---|---|
| Transfer Bench | Vertical bar at tub edge + horizontal bar along wall | 400-600 lbs | Users needing seated transfer over tub edge |
| Shower Chair | Dual vertical bars at entry + horizontal back wall bar | 300-500 lbs | Walk-in shower users needing seated support |
| Wall-mounted Seat | Angled bar 45° for sit-to-stand leverage | 250-400 lbs | Users with adequate standing balance |
Armed with this engineering-focused knowledge, you are now equipped to move beyond generic advice. The next step is to conduct a thorough audit of the bathroom space, analyze the specific user’s daily movements, and create a detailed installation plan before drilling the first hole. This thoughtful preparation is the final, most important step in guaranteeing a truly safe installation.